Answer the following questions in complete sentences, using formal writing style.
1. What went well in this project?
2. What were some of the stumbling blocks you experienced along the way?
4. What would you do differently next time? What advice would you have for someone doing this project?
Friday, January 31, 2020

Tuesday, January 28, 2020
Final Illustrator Project
We are nearing the end of our unit on Illustrator.


Be sure to have Ms. Wahl approve your plan before you begin.
2) Re-create a well-known logo (or a collection of them, depending on time & complexity).
3) Create a custom design of some kind - talk to Ms. Wahl before you begin!
GOAL: Remember that your goal is to experiment with the tool - you are beginners and the designs around you are by professionals. Be patient and have fun!
Friday, January 10, 2020
Using Mesh Warp - a big experiment
Some things you need to know...
First, you need practise each of the skills outlined below. Create a document where you try each of these successfully before proceeding.
To Cut, Slice, or Mask:
https://helpx.adobe.com/ca/illustrator/using/cutting-dividing-objects.html
Key Steps in adding text to your meshed image:
1. Use your TYPE tool to add a sentence.
2. From the Type menu, select Create Outlines.
3. From the Object menu, ungroup your sentence, and regroup them as individual words.
4. Select one work. Go to Object -->Envelope Distort --> Make with Mesh.
5. Change your mesh grid to one row, and as many columns as letters.
6. Use the direct select tool to click on the white selection points - warp each letter as desired.
7. Click Compound Shape --> Make.
8. To "cut-away" the words, from your shape, select both the words and the background shape, use the "Minus Front" button on the Pathfinder window.
Key Steps in adding text to your meshed image:
1. Use your TYPE tool to add a sentence.
2. From the Type menu, select Create Outlines.
3. From the Object menu, ungroup your sentence, and regroup them as individual words.
4. Select one work. Go to Object -->Envelope Distort --> Make with Mesh.
5. Change your mesh grid to one row, and as many columns as letters.
6. Use the direct select tool to click on the white selection points - warp each letter as desired.
7. Click Compound Shape --> Make.
8. To "cut-away" the words, from your shape, select both the words and the background shape, use the "Minus Front" button on the Pathfinder window.
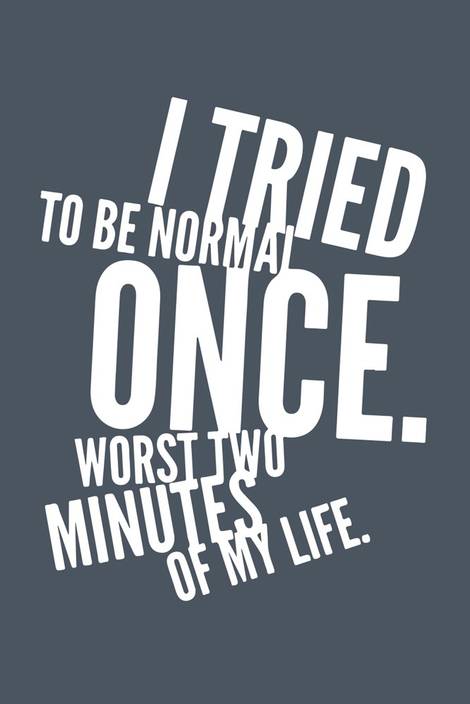
Making a Image from Warped Text:


Tuesday, January 7, 2020
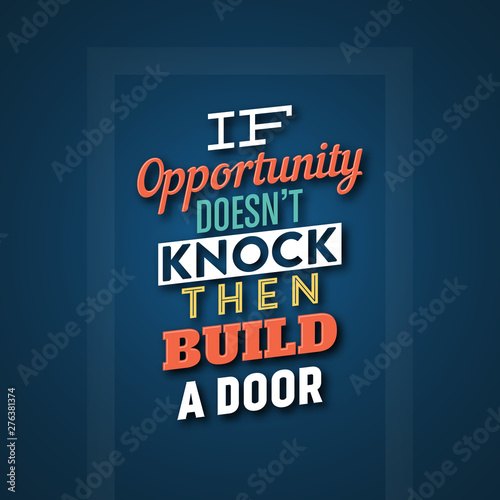
Working with TYPE


Subscribe to:
Posts (Atom)
-
On your blog, explain what the ISO controls and its effect on your photography. Post an example from the internet. Manual Mode: Use the...
-
Some things you need to know... First, you need practise each of the skills outlined below. Create a document where you try each o...


